Crab apple jelly
As a kid, I made crab apple jelly every autumn with my Grandmother. What follows is that story and the recipe.


It was a funny thing this fall, the smell of the apple jelly hit me like an emotional freight train. I want to share this experience with you. I made jelly with my grandkids and daughter-in-law this past week. I hope they remember the day when they are my age.
Here’s the story (recipe at the bottom):
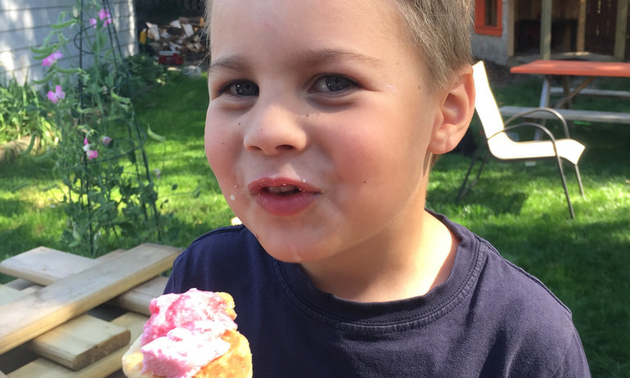
I remember my grandmother’s white kitchen, and the pink foam of her crab apple jelly-making, her scooping it off with the ladle––the color of candy floss––the first thing we got to eat from the day’s production. It smelled of crushed apples, tart, sweet, simultaneously filling your mouth with delicious and your nose with apple blossom.
Where can I find crab apples to make jelly?
The city where I live now has a policy about fruit on public trees in public parks: help yourself. I did help myself, twice. A few days ago, I picked crab apples right in my neighbourhood. Check with the folks where you live. Maybe you can do the same, or maybe your neighbours have ripe tree-fruits begging to be made into jams and jellies. Might they be game for a swap? Fruit for some jelly? Everyone wins.
Do I need to buy Certo?
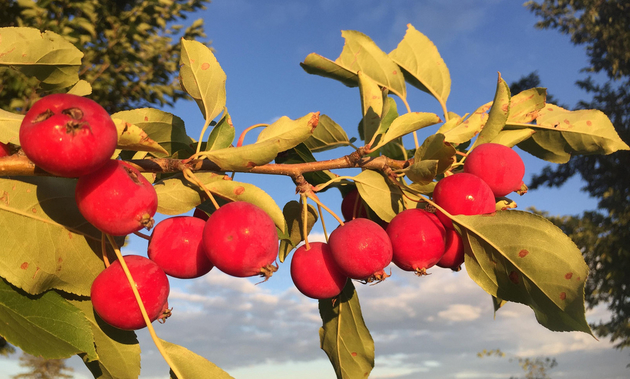
Grandmother said there was no need to spend her nickels on Certo when these bright little red orbs were loaded with pectin.
Cover the freshly-picked apples with cold water. Boil them until they break apart. Strain them through a cotton cloth. Simple.
Grandma did not put jam and jellies in sealers. She used spent jam and jelly jars. And mustard jars, and pickle jars. Jars that could be cleaned well, sanitized in boiling water. She filled them with steaming-hot jelly, drizzled a seal of paraffin wax and topped with a lid. Her green-walled cellar was lined with paraffin-sealed jam jars in red, purple and pink.
Invariably on the day grandmother made jelly there would be a loaf of bread, fresh from the oven. Once the butter melted, you had to hustle or the pink foam would liquefy on your fat slice. I followed her instructions. Now I use a canvas bag as big as a laundry bag, fill it with hot apples cooked nearly to mush, hoist it up in the garage over a bin large enough to collect the juice, and let it drip.
This will take three hours for most of it and 12 hours for all of it.
It has been more than 30 years since I stood in my grandmother’s bright kitchen, her in a blue dress with a white bib-front apron. I can see her fine gold wedding band on her plump ring-finger and jars of various shapes and sizes laid out on fresh linen drying facedown, having been dipped in water at a rolling boil. Grandma’s recipe for apple jelly was very simple, infinitely scalable: one cup of juice; one cup of white sugar. Boil. Skim. When a teaspoon of cooked jelly drizzled on a chilled plate skins as you pull your finger through it, the jelly is done. Grandma preferred gentle jelly. And sometimes added cinnamon.
Now for the recipe:
Tools and equipment
- Your stove: I used my big three-burner Camp Chef Denali outdoor stove.
- 9 litres of space for jelly. (This means 18-500 ml jars, or 36-250 ml jars.) I like to buy some 250’s to give away for hostess gifts.
- A 12-litre pot. A large stock pot will do. Or you can do several batches in a smaller pot, just stop at 2/3 full.
- A pail in which to put the picked apples.
- Access to crab apples. This recipe is made with Dolga Crabs.
- A wooden spoon.
- Ovenproof hot mitts.
- A ladle for skimming the (delicious) pink froth that gathers on the surface.
- Two ceramic side plates, put in the freezer.
- A stainless bowl to hold the skimmings.
- A draining bag. I made a simple one out of canvas, but a clean old tee-shirt will work fine, just sew the arms and neck closed into the shape of an upside-down cone.
- A clean 15+ litre bin or pail to catch the apple juice.
Ingredients
- Apple juice, which you will extract by cooking and draining the apple pulp.
- White sugar
- Paraffin wax, buy a kilo so you have it on hand but plan to use about 500 grams.
The Method – Day #1
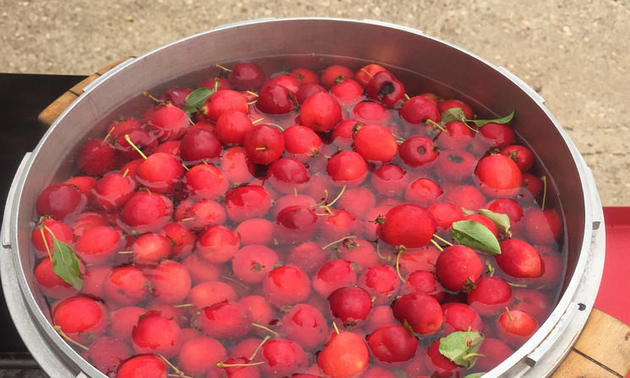
1. Pick 20 or so litres of crab apples to get 7-9 litres of juice.
2. Wash the apples well in cold water.
3. Fill the stock pot 2/3 full of apples and cover with water.
4. Bring to a boil. Be careful because these apples like to boil over on full heat. Watch them closely, never turn your back on them, and get ready to dial back the heat at the first hint of a rolling boil.
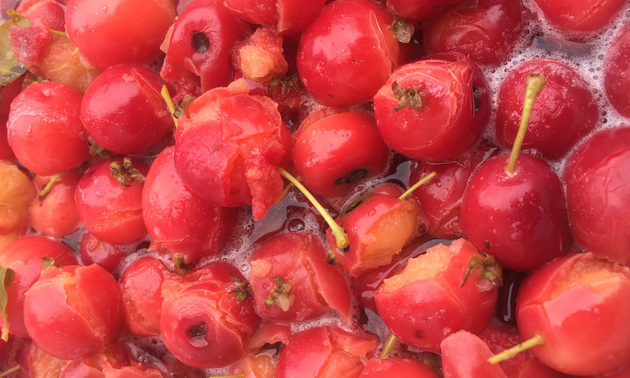
5. Cook them five minutes beyond the skins breaking.
6. CAREFULLY drain the apples into the bag and hoist up to drain. I set the bag in a square food-grade pail, pour the hot apples into the bag, tie a rope around the bag and hoist it up in the garage. (I make a lot of Jelly) 7. Drain the apple pulp overnight. No need to squeeze the pulp, that will make the jelly cloudy. Toss the leftovers from the bag in the compost.
The Method continued – Day #2
1. Wash and sanitize your jars and lids in the dishwasher on high heat first thing the day you make jelly. Remove them and place face down on clean cotton tea towels.
2. Measure a litre by volume of juice and a litre by volume of sugar and fill the stockpot to 2/3 full. The simple recipe is equal amounts of juice and white granulated sugar by volume.
3. Bring to a boil. Again, be EXTREMELY CAREFUL, sugar syrup is hotter that water boiling, sticky, and this mix loves to boil over.
4. Once the jelly mix comes to a boil, skim the pink foam off the surface every few minutes, and place it in a stainless bowl. (This is the first thing everyone gets to try when you are done.)
5. After twenty minutes of gentle boiling, take one of your plates out of the freezer, dribble a teaspoon sample of jelly on a frozen plate. Let it sit for three minutes. When the jelly surface skins and wrinkles as you pull your finger through it, the jelly is done and ready to bottle. (This is not an exact science timing-wise because of the variable pectin in the apples and the concentration of juice. As the jelly cooks as the water boils off, and the pectin concentrates.)
6. Repeat this test every five minutes until the jelly skins. Use two plates. Wipe the jelly off the first plate and return it to the freezer. Then use the second plate from the freezer.
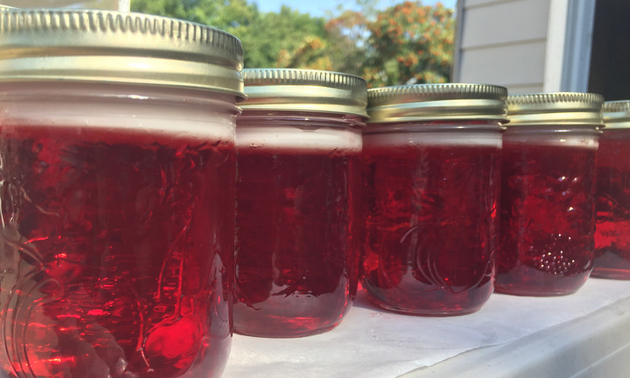
7. Once the jelly skins, it is fully cooked, shut off the heat, and CAREFULLY ladle the jelly into jars.
8. Heat the wax slowly in a cast iron pot no more than half full until it is liquid. I usually shut off the heat when about half of the white wax is melted. The heat in the pan usually completed the melt. (another flammable hazard)
9. Drizzle with just enough heated paraffin wax to cover the jelly and seal against the sides of the jar.
10. Let the jelly cool.
11. Cover with lids.
12. Store in a cool dark space until you are ready to use it. (I have had jelly keep this way for three years, but your jelly eaters will probably empty those jars before its time to pick again.)