Spring cleaning for your RV: Five steps to organizing small spaces
Get off on the right foot this travel season with these lessons from the road


With warmer weather on the horizon, it’s time to air out the RV and hit the road.
Buzzing with excitement about the upcoming travel season, I opened the door to my travel trailer, which has been sitting unused for more than four months, to a cluttered mess.
Coffee mug Christmas gifts covered the back half of our dining table while copies of campground receipts and winterization checklists lay scattered across the front.
Books flew from the bedroom cupboards as I opened the doors to assess the damage and once organized dishes lay in chaos under the sink -- a lingering symptom of the exhaustion that followed a busy 2016.
After a year of living out of suitcases and an RV, I understand more than ever the importance of organization and preparation, especially in tiny spaces. So, for the sake of my summer, my marriage and my sanity I’m on a mission to declutter and reorganize using a five-step plan filled with lessons from the road.
Step 1: Clean
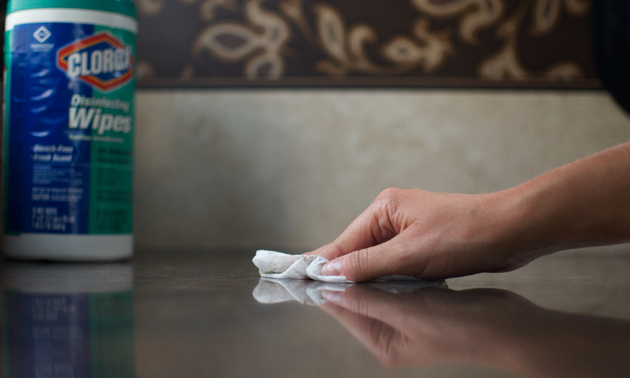
You can’t call it spring cleaning without a good scrub, but I find that the best cleaning usually begins by making a mess.

Pull everything out of the cabinets, off the shelves and out of the drawers before wiping down every surface in the space.
As for all that clutter, clean it too. Wash the dishes, do some laundry and dust the trinkets before putting things back in their place. This is a great time to clean the fridge, the bathroom and wash the floors since you’ve already moved the debris out of the way.
Don’t forget to open the windows while you work to allow some fresh air into the space.
Step 2: Prioritize
Now that everything is clean and in visible, it’s time to sort.
Do you really need seven coffee cups in the camper or will two suffice? What about that stack of books you didn’t get around to reading last year or those movies that were never touched? I bet you could ditch a couple of each.
Determining the value of your belongings can be difficult, but when space is limited every inch counts.
Take a tough look at what you’re putting back in those cabinets and evaluate every item before dedicating the space.
Step 3: Maximize space
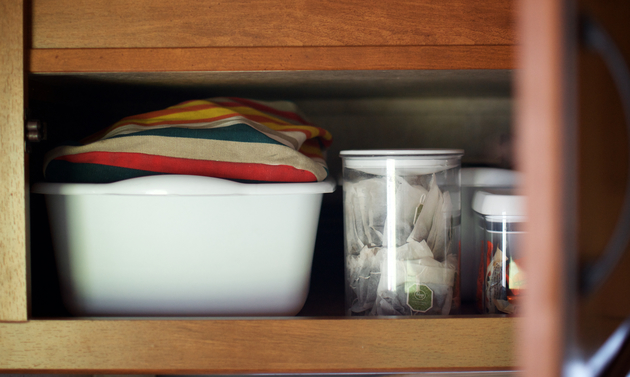
Now that you’ve whittled down the necessities don’t just throw them back in the same spot. Maximize your space by organizing items based on their size and how often they’re used.
Ensure frequently used items are accessible and slide others to the back of cabinets or onto higher shelves.
Combine small or oddly shaped items that aren’t easily stackable into tubs or containers that will save space and keep things from shifting during travel.
Step 4: Find functional decor
Tight spaces leave little room for meaningless decor but adding pieces that reflect your personality can turn those walls into a home.
Replace useless trinkets with items that are fun and functional.
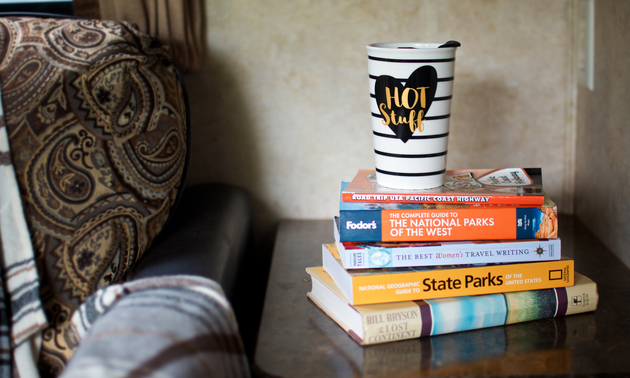
Add pops of color by displaying patterned dishes on open shelving or hooks near the kitchen. Use framed maps to add interest to the walls, which can also be used for planning and research.
Stack guide books and hardback novels in interesting shapes on an end table with a coaster for drinks on top or on a nightstand to prop up a small lamp.
Step 5: Leave a little space to spare
Once everything is in it’s place, resist the urge to fill the gaps with more things. Filling every nook and cranny can make a small space feel even smaller.
Cramming items onto a shelf can turn a fun display into clutter and even a little space between containers in the cabinet will make them easier to remove when you need something.
Leave a little breathing room.
And don’t forget to salvage some space for new items from your next adventure.