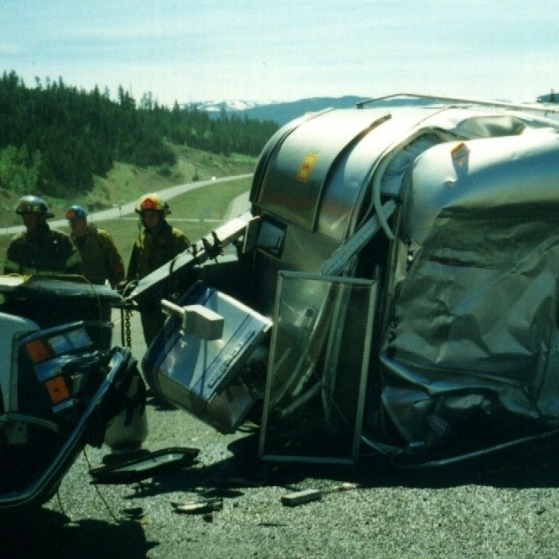
A new RV, a $12,000 bill, or a DIY roof repair?
The success of a re-roofing project depends on the quality of the materials used and your willingness to invest enough time in preparation.


Last summer, when full-timer Dennis Vanvelzen set out to find a new home, he didn't begin by scouring local RV dealerships for perfection. Instead, this intrepid do-it-yourselfer kept his eyes open for just the right deal on a used fifth wheel.
Since he's better equipped than many of us to evaluate the condition and value of the options available, he found what he needed in a 35-foot 1998 Alfa Ideal with three slides. Lightly used, much of the rig was in good condition and the floor plan well-suited for full-time living. The unit's only fault: the seller had been quoted over $12,000 for a new main roof and roofing work on the slides, more than the unit was worth.
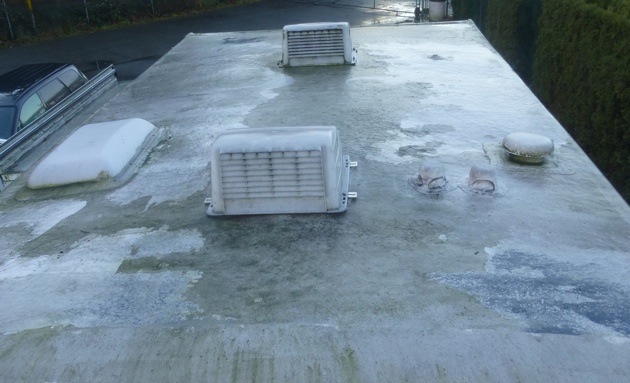
Vanvelzen saw no interior watermarks, but did notice some panelling close to the ladders was delaminating. Obvious too, were the roof patches done with an oil-based sealant. Undaunted, Vanvelzen decided he could repair the problems himself and bought the RV for around $3,500. A few weeks later, he began the repairs while living in his original RV next door.
As you might expect, the success of any re-roofing project depends on the quality of the materials used and your willingness to invest enough time in preparation. Having done his online research, Vanvelzen chose GacoFlex S20, a solvent-free 100 per cent silicone elastomeric coating that has an excellent reputation and warranty.
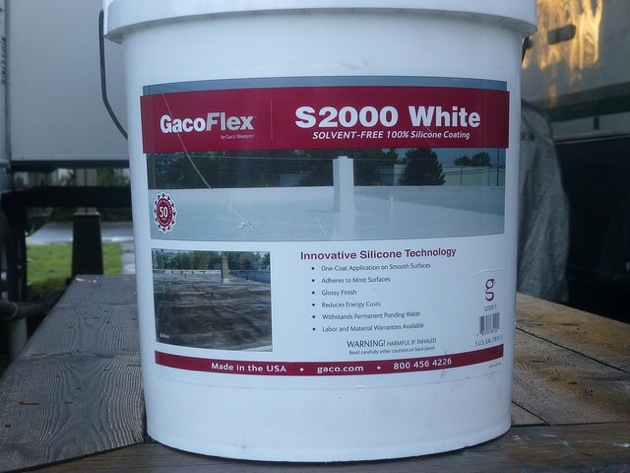
According to product specifications, the company says GacoFlex is "designed as a protective coating to seal and repair existing roofs and permanently protect against leaks." It is also "unaffected by harsh UV rays and severe weather."
So if you decide to take on a similar project, here in brief is the process.
Preparation
- Your first chore is to sweep and power-wash the roof to get rid of debris and remove any earlier patching attempts.
- When the morning dew has evaporated and surfaces are dry, remove the air conditioner, storage pod and vent covers and tape all seams using the specified GACO accessory products.
- Stir the GacoFlex thoroughly, taking care not to create bubbles in the mix. Brush-paint the GacoFlex along all edges and seams.
It's essential to avoid dribbling the product over the edge of the roof because, as Vanvelzen said, "If it cures on the walls, you'll have a tough time getting it off."
Applying the new roof
- From the opposite end of the roof, back up towards the ladder, use a roller at the end of a long handle to apply the product. Overlap the sections and level the product as you go.
- Following the product instructions, allow about 24 hours curing time before adding the second coat.
- Once both coats have been applied and cured, you can re-install the air-conditioner and vents and caulk the seams around them.
"It took about four hours to do the brush work and two and a half hours for each main coat," Vanvelzen said.
Start to finish, a roof that should last longer than the RV itself took less than a week to install and, when he has completed the work on the slides, the project will have cost Vanvelzen less than $3,000.